Wedding
How to create a free wedding QR code: a step-by-step guide
Learn how to create a QR code for your wedding in minutes: free tools, customization, printing and practical tips to get it right.
 Fede from Togevent
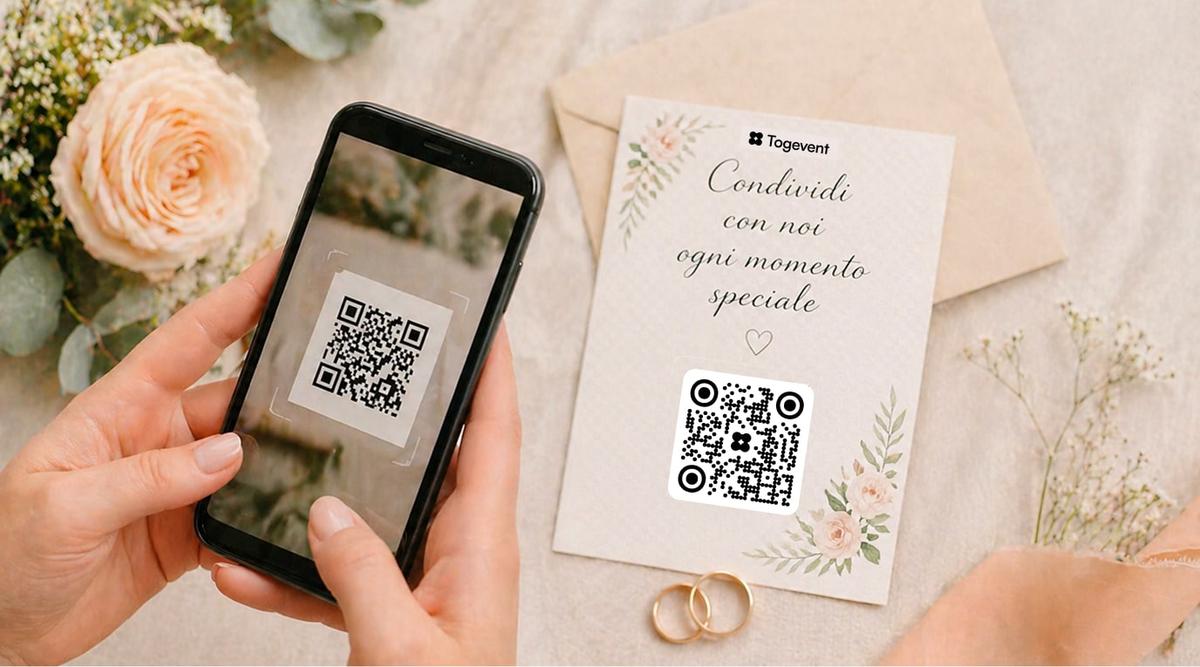
You've decided to use a wedding QR code to share photos, information and details with your guests. Great choice. Now comes the practical question: how do you actually make one?
Good news: you don't need any special software, you don't need to be a tech expert and, in most cases, you don't even need to spend a cent. In this guide I'll walk you through the concrete technical steps — from choosing a generator to the final print — with all the details that make the difference between a QR code that works on the first try and one nobody can scan on the big day.
To learn how to use it and where to place it at your wedding, check out the complete guide to wedding QR codes first. Here we'll focus only on the technical side.
What you really need to create a wedding QR code
Before you open any online generator, stop for a moment. A QR code is nothing more than a code that, once scanned with a smartphone camera, takes the user to a web address. That's it.
So the real question isn't "how do I generate the code" but: what content do I want it to point to?
To create a wedding QR code you only need two things:
A destination link — the page or space you want to send your guests to
A QR code generator — a tool (free, or already included in the service you use) that turns that link into a scannable code
The part that needs a little more attention is choosing the right link and making sure the printed QR code works properly.
Step 1 — Decide on the destination link
A QR code is just a code that opens a link. The real question isn't "how do I generate the code" but what content it should point to.
Our advice is to point to a single link that holds everything guests need, rather than creating different QR codes for each function (one for photos, one for the schedule, one for the wedding registry). The fewer codes there are, the less confusion for guests and the more likely they are to actually scan them.
With Togevent, your event space already has a single link that includes the shared gallery, schedule, announcement board, RSVPs and wedding registry. The QR code points straight there.
Step 2 — Choose your QR code generator
There are dozens of free online generators. Here are the most reliable ones and what they offer on the free plan.
Free with no sign-up, supports customizing colors, shapes and a center logo. Exports to SVG (vector), high-resolution PNG, EPS and PDF. Only generates static QR codes (the link can't be changed after creation). Recommended if you want a good level of customization without creating an account.
A very simple interface, ideal for beginners. The free version allows unlimited static QR codes. Dynamic QR codes (editable after printing) require an account and a subscription. Exports good-quality PNGs.
A good option if you already have an Adobe account. It works with Adobe Express templates, which is handy if you want to drop the QR code straight into a design for invitations or place cards. Static QR codes only in the free version.
Static vs. dynamic: what's the difference (and why it matters to you)
Almost all free generators produce static QR codes: the link is fixed and can't be changed after printing. Dynamic (editable) ones are usually paid.
For a wedding, static codes are perfectly fine — as long as the destination link is stable and doesn't expire. Always check the service's terms for:
Expiration: some free services deactivate QR codes after a few weeks or months. A code that stops working on your wedding day is the last problem you want.
Tracking: some require an account to offer analytics. If you don't need them, pick a service that works without an account.
Format: for printing, the best format is SVG (vector, scales with no loss of quality). If it's not available, use a PNG at 300 dpi or higher.
Step 3: customize colors and style
A QR code doesn't have to be a black-and-white square. Many generators let you customize:
Colors — You can match the code to your wedding palette (for example, a burgundy QR code on an ivory background)
Module shape — Some tools let you round off the little inner squares
Center logo — You can add the couple's initials or a small graphic element
When in doubt, stick with the classic: a black QR code on a white background always works, on any smartphone, in any lighting.
4 technical rules to always follow
Customizing is fun, but if you get the technical rules wrong, the QR code stops working. These 4 are non-negotiable:
High contrast — The code must be darker than the background. Never use colors that are too similar (for example, light gray on white)
Don't invert the colors — The QR code should be dark on a light background, not the other way around. Many scanners can't read inverted codes
Don't overdo the logo — If it covers too much of the code, scanning may fail. As a rule, the logo shouldn't take up more than 10–15% of the area
White margin (quiet zone) — Always leave a white border around the QR code. Without this margin, the camera may not recognize it
When in doubt, stick with the classic: a black QR code on a white background always works.
Step 4: test the QR code before printing
This is the step many people skip and later regret. Before sending anything to print, test the QR code.
Here's a quick checklist:
Scan the code with at least 2–3 different smartphones (Android and iPhone)
Check that the destination link opens correctly
Try scanning from different distances: up close and from at least 30–40 cm (about 12–16 inches)
If you customized the colors, test in different lighting conditions too
Make sure the destination page works well on mobile (that's where your guests will open it)
If the QR code will be printed on glossy or transparent materials, do a real test print before placing the final order
Five minutes is all it takes to avoid nasty surprises on your wedding day.
Step 5: print and place the QR code
Once it's tested, it's time to print and decide where to place the QR code.
Recommended minimum sizes:
Table card: at least 3×3 cm (1.2 in), ideally 5×5 cm (2 in)
Paper invitation: at least 2.5×2.5 cm (1 in), ideally 3–4 cm (1.2–1.6 in)
Entrance sign: at least 8×8 cm (3 in), better 10×10 cm (4 in) or more
Large panel or display: depends on the scanning distance. Rule of thumb: each side of the QR code should be at least 1/10 of the scanning distance (e.g. for scanning from 1 meter, a side of at least 10 cm)
The general rule is: the QR code should be scannable from about 30–50 cm (12–20 inches) away. If you print it too small, many phones won't be able to read it.
Where to place it:
On the reception tables, next to the place card or the menu
At the venue entrance, on a welcome sign
On the seating chart, built into the design
On paper invitations or the digital invite
On a display or screen, if the venue allows it
In the photo booth area, to invite guests to upload those shots too
For creative ideas on where to place your QR code, you can also think about wedding favors, the ceremony program and welcome bags.
Materials and printing:
Use matte or satin paper. Very glossy surfaces can create reflections that get in the way of scanning
If you're using a print shop, provide the file in vector format (SVG) or as a PNG at 300 dpi or higher
Avoid printing the QR code on busy photo backgrounds: the contrast needs to stay sharp
The limits of free generators (and when to switch to an all-in-one solution)
Free generators cover the basics well, but they have three important limitations you should know about before you start:
The link can't be changed — If after printing you notice a mistake in the link or want to change the destination, there's nothing you can do with a static QR code. You have to reprint everything.
The service can expire — Some free generators deactivate QR codes after a certain period.
A link separate from your event space — If you use an external generator, you still need a working destination page. That means managing two separate tools: one for the content (photos, info, RSVPs) and one for the QR code.
If you're looking for a solution that removes this complexity, it's worth considering platforms that already include the QR code as part of the event experience. Among the best wedding photo sharing apps, the all-in-one ones offer a real advantage: everything works from a single space, without having to connect different services.
An all-in-one solution: event space + QR code in a single tool
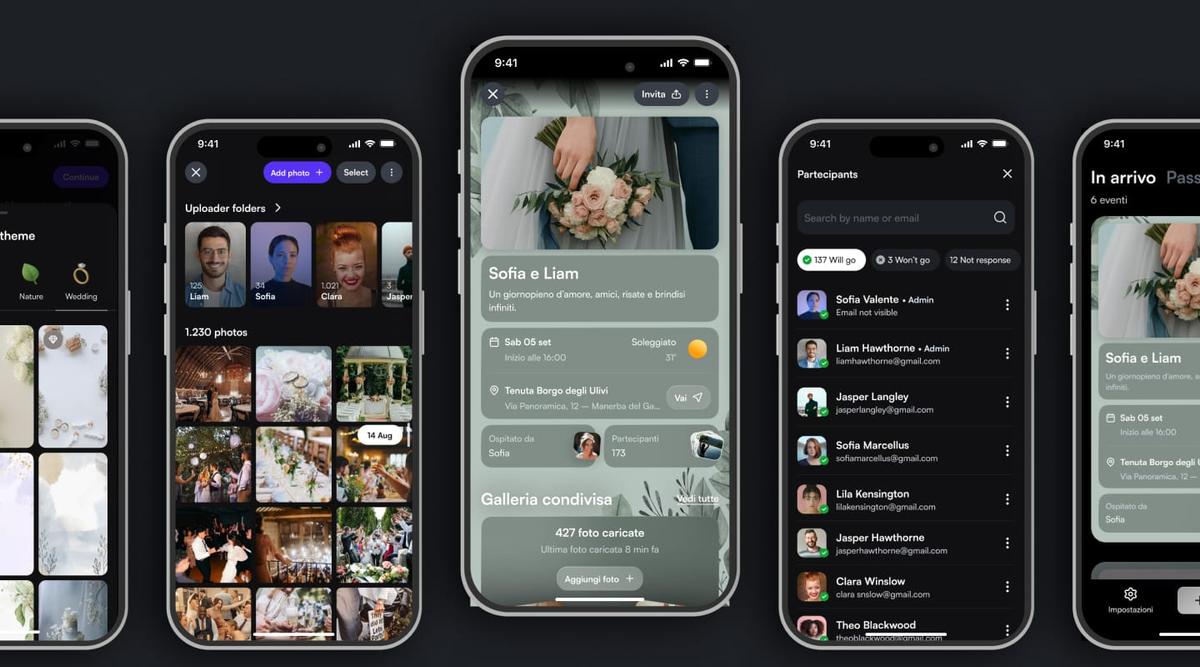
With Togevent you don't need an external generator. When you create an event, you automatically get a shareable link and a unique QR code that points straight to your wedding space.
From that space, guests find everything with a single scan:
Shared gallery to upload and browse photos, with no app to download
The day's schedule with times and details you can update in real time
Practical information: venue, parking, dress code
Announcement board for announcements and last-minute updates
Wedding registry viewable right from the same space
The practical advantage is that you don't have to juggle separate links, cloud folders or external generators. The QR code is already connected to your event, and if you need to update something, you do it in Togevent without reprinting anything.
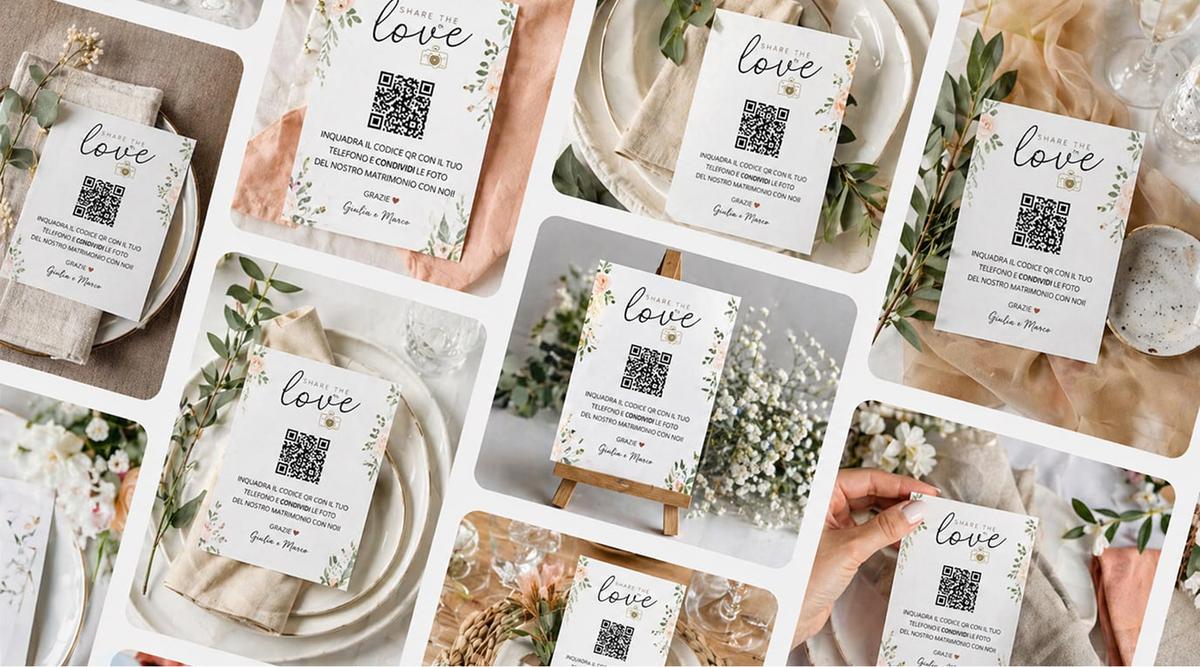
With Togevent you can also create and print personalized cards with your event's QR code: choose a ready-made template, adapt it to your style and have it delivered to your door. One less thing to organize, already coordinated with your wedding.
You can also create a shared wedding album that stays accessible after the event, so you can download and relive your memories at your own pace.
Fede from Togevent